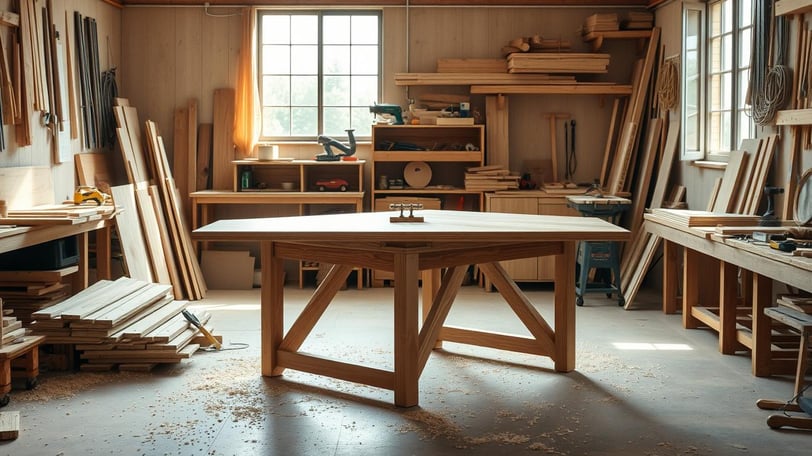
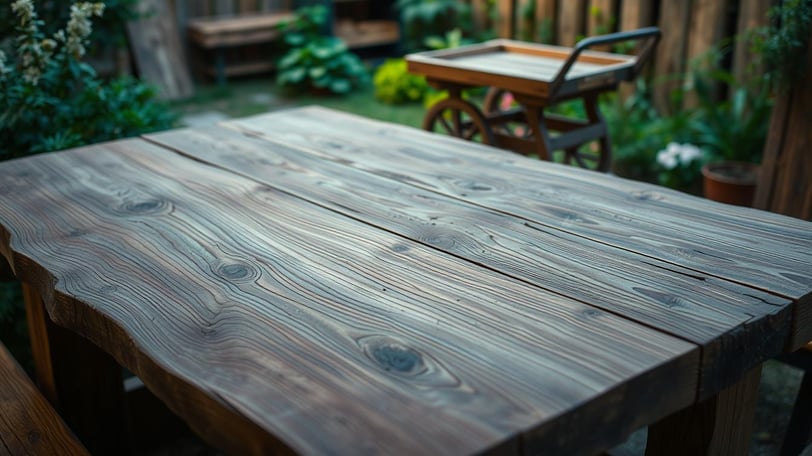
Unlock your creativity with this DIY project. It's a wooden table that folds into a handcart. It's perfect for small spaces, like homes, apartments, and workshops.
This project uses smart woodworking and design. It's a great space-saving option for anyone, whether you're experienced or new to DIY.
Get ready for a fun journey of making this DIY wooden table. It's all about being versatile, portable, and saving space. This guide will help you make your dream piece come true.

Essential Tools and Materials for Your Folding Table Project
Building a sturdy and functional folding table needs the right tools and materials. Whether you're experienced or new to DIY, having the right items makes the project easier and more fun. We'll look at the tools and materials you need for your table plans.
Required Power Tools
You'll need a circular saw to cut wood boards. A drill is for holes and screws. A sander gives a smooth finish. A jigsaw is good for curves on the table top. Always wear safety goggles and gloves when using power tools.
Necessary Materials and Hardware
You'll need wood boards, glue, nails or a nail gun, screws, and stain or paint. You'll need (4) 1" x 8" x 6', (1) 1" x 2" x 6', and (3) 1" x 4" x 6' boards. Use Varathane "Early American" stain and exterior spar urethane for a rustic look.
Safety Equipment Checklist
Safety goggles
Protective gloves
Dust mask or respirator (for sanding and finishing)
Proper ventilation when working with paints, stains, and finishes
With the right tools, materials, and safety gear, you're ready for your folding table project. Follow safety rules and use tools as directed for a successful DIY experience.
Get Inspired! Access step-by-step woodworking plans for your next project here.

Understanding the Design Concept and Measurements
Building a smart folding wooden table with a handcart needs careful planning. The design and measurements are key. They ensure the table works well, lasts long, and fits with the handcart.
Start by measuring the space where the table will go. Think about how it will fold and fit with the handcart. Make sure to measure each part of the table, adding a bit extra for easy folding and unfolding.
Measure the space accurately to ensure the table fits seamlessly in the desired location.
Factor in the folding mechanism and handcart integration when planning the table's size and design.
Allocate extra 0.25 – 0.5 inches for each component to accommodate the folding action.
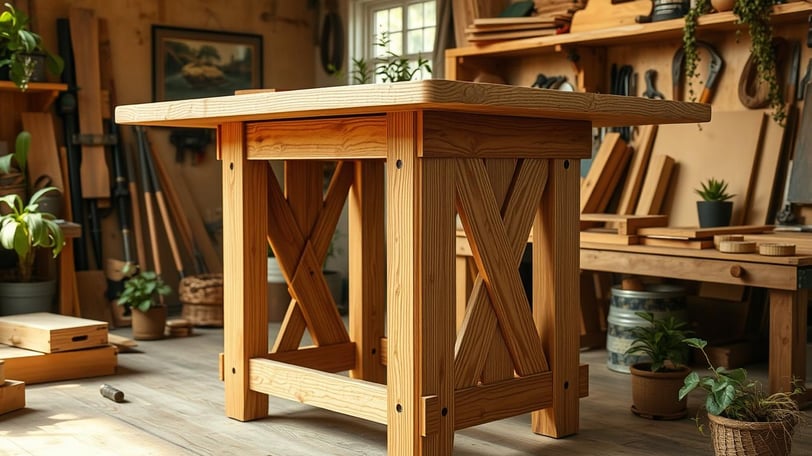
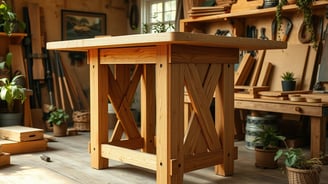
The design should look good and work well. Aim for a farmhouse tables that looks great and is useful. Think about the table legs and table tops to make it both beautiful and practical.
"The design approach emphasizes simplicity, elegance, and functionality, catering to the goal of creating a family dining table that is both stylish and practical."
To make your DIY wooden table project a success, understand the design and get accurate measurements. Focus on these details to create something amazing. It will be both beautiful and useful.

DIY Wooden Table: Building the Folding Mechanism
Making a folding table at home needs focus on the folding mechanism. This part is crucial for easy unfolding and collapsing. The hinged joints and support brackets work together for a strong, yet easy-to-move table.
Creating the Hinged Joints
For the hinged joints, pick hardware that can handle the folding and unfolding. The author bought 8/4 and 5/4 solid stock and cherry veneered plywood from a local store for the table. Measure and mark the joint spots carefully. Then, use a router with a 1/2" bullnose radius bit to make a three-beaded pattern on the aprons. This adds a nice design.
Installing Support Brackets
Support brackets are key for the table's stability when open. A 3/8"-wide dado stack in the table saw made 1/8"-long tongues on the tabletop edges for interlocking with the aprons. Use wood glue and screws to attach the brackets. Test the folding mechanism often during assembly for smooth movement. Leg bracket bolts were drilled 13/16" from the outside, non-tapered face of the legs for proper function.
With the hinged joints and support brackets, your folding table will look and work great. It will easily switch between a compact storage state and a sturdy, ready-to-use surface. Sand the surfaces smooth and apply paste wax for a lasting, beautiful finish.
Get Inspired! Access step-by-step woodworking plans for your next project here.
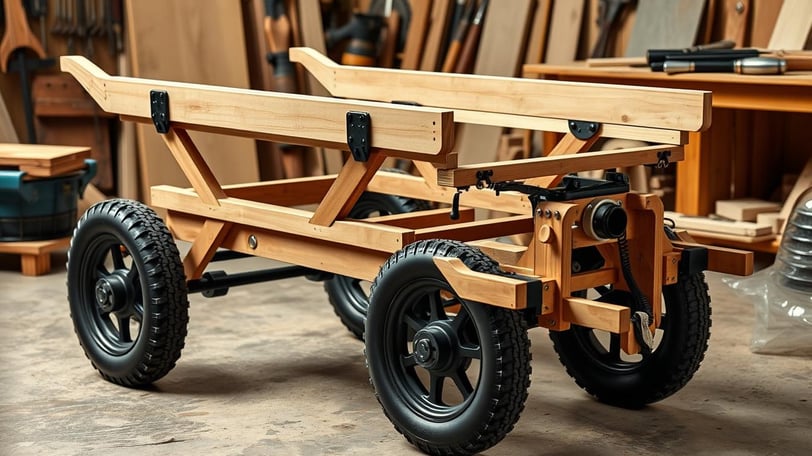
Constructing the Handcart Base Structure
Building a DIY wooden table starts with a strong handcart base. This base must hold the table's weight and any extra items. Use a tough wood like white ash for the base.
Adding half-lap joints makes the base stronger and lasts longer. These joints fit two pieces of wood together, adding stability and durability. Use outdoor glue and screws to hold the joints in place.
The portable work table can grow from 2'x4' to 2'x8', 2'x12', 4'x6', and 4'x8'.
The frame was strengthened with half-lap joints, glued, and nailed together.
The folding leg assembly uses a bracket with two 2x2 legs, attached with a piano hinge.
The shelves were made from 1x material and 1/2" plywood, cut to size.
A curve was cut on the shelf for easier installation.
Building the handcart base takes several days and is considered an intermediate project. The cost of materials can be between $101 and $250.
By following these steps and using the right tools and materials, you can make a solid handcart base. Pay attention to details and use proper construction methods for a great result.
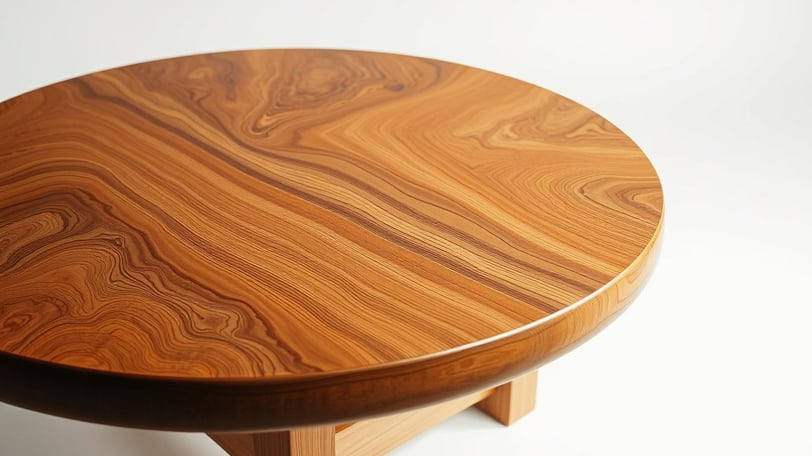

Building and Attaching the Table Top
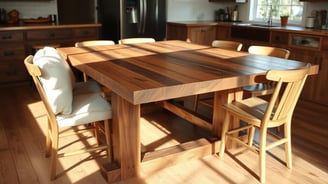
Making the perfect table top is key. Start by picking knot-free wood boards for the best look. Wood experts often choose 2x boards over 1x for sturdiness. You can use 4/4 walnut boards for a striking look or go for 2x8s, 2x10s, or 2x12s for a budget-friendly option.
Wood Selection and Preparation
For a smooth table top, use flat, straight boards. Wider boards like 2x8s, 2x10s, and 2x12s are better for big tops because they need fewer glue joints. Before you start, make sure the board edges are square for a perfect finish.
Assembly Techniques
Glue two boards at a time for better results. Use pipe clamps for a tight bond. Make sure the boards are aligned well during clamping for a flat top. After the glue dries, trim any uneven ends for a clean finish.
Now, sand the top smooth. Start with 100-150 grit sandpaper and move to 200-220 grit for a shiny finish. You might want to add a protective finish like Minwax Polycrylic or Minwax Helmsman. Always think about wood movement and avoid fixing the top too tightly.
"Building a sturdy and visually appealing table top is the cornerstone of any successful furniture making project."
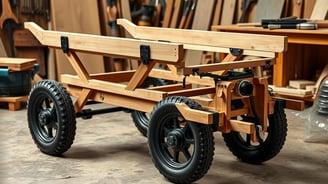
Installing Wheels and Mobility Features
Adding wheels to your DIY furniture, like a folding table, is a big improvement. The right wheels make your table easy to move around. When picking wheels, think about size, weight capacity, and how they turn.
Choose bigger wheels for smooth movement on different floors. Make sure the wheels can handle your table's weight, including what you put on it. Wheels that turn easily are best for moving your table around.
Consider special wheels like locking ones for stability or retracting ones for heavy tables. For tables that need to be level, use machine-leveling casters.
For an easy fix, try caster kits or mobile bases. They make adding wheels simple. Pick the right wheels for your project's needs.
To put wheels on, start with an axle and a 1/2-inch rod. Add supports and drill holes for the axle. Make sure the wheels move well and protect the axle from rust.
With the right wheels, your DIY table will look good and work great. You can move it easily whenever you need.
Adding Finishing Touches and Protection
As you near the end of your rustic or farmhouse-style wooden table project, it's time for the final touches. These will make your table look great and last longer. Sanding and preparing the surface are key steps for a smooth finish.
Sanding and Surface Preparation
Start by sanding the whole table with a 60-grit sandpaper. Move to finer grits like 120-grit and 220-grit until it's silky smooth. Use an electric hand sander for even results.
For a weathered look, use Citristrip to remove old finishes. Then, apply unscented bleach to whiten the wood. Repeat this 9 times for the right color. Sand again with 220-grit sandpaper for a perfect finish.
Applying Protective Coatings
Choose a protective coating for your table. For a living room, a matte polycrylic finish is good against spills and scratches. But, if it's for a play area, skip the sealant for a more natural look.
Or, use clear paste wax for a natural sheen. Apply 2-3 coats, letting each cure for a few hours to 24 hours. Let the final coat cure for a week to ten days before using.
Whichever coating you pick, clean off any leftover from stripping with steel wool and mineral spirits. With these steps, your table will be ready to enjoy for years.
Upgrade Your Craft with top-notch woodworking blueprints and plans available here.